Knowing how to set up remote desktop on Mac isn’t just a neat trick for IT professionals anymore; it’s a fundamental skill for anyone in today’s flexible work environment. Whether you’re trying to access your powerful office PC from the comfort of your home, provide quick tech support for a family member, or simply grab a file you left on another machine, remote access is the key to seamless productivity.
However, the term “remote desktop” can be confusing. Are you trying to control a Windows PC? Or are you connecting to another Mac? The setup for each scenario is completely different, which is where most guides can lead you astray.
With over a decade of experience navigating both macOS and Windows ecosystems, I’ve seen countless users get frustrated and give up, thinking the process is too complicated. I can assure you, it’s not – you just need the right map for your specific journey. This guide is that map.
In this comprehensive tutorial, you will discover:
- How to choose the perfect remote desktop method for your exact need (Mac-to-Windows, Mac-to-Mac, etc.).
- Step-by-step instructions to connect to a Windows PC using the official Microsoft Remote Desktop app.
- How to use macOS’s free, built-in Screen Sharing feature to control another Mac effortlessly.
- The most important security tips to keep your remote connections private and secure.
Stop juggling multiple devices or emailing files back and forth. Let me walk you through setting up your remote connection the right way, so you can start working smarter, not harder.
1. Choosing the right method: Which scenario fits you?
Before we dive into any technical steps, let’s get you on the right track. The term “remote desktop” can mean different things, and the right setup for you depends entirely on what you’re trying to accomplish. To make it simple, I’ve broken it down into the three most common scenarios.
Find the one that describes your goal, and you’ll know exactly which guide to follow.
You want to control a Windows PC from your Mac.
This is the classic setup for many remote workers who have a Windows desktop at the office but use a MacBook at home. Your best bet is the free Microsoft Remote Desktop app. It’s the official, purpose-built tool from Microsoft, designed to give you the full Windows experience on your Mac screen.
You want to control another Mac from your Mac.
Maybe you have a powerful iMac at your desk and want to access it from your MacBook on the couch. The easiest way is to use macOS’s built-in Screen Sharing feature. It’s free, already on your Mac, requires no extra downloads, and is incredibly fast for connections on the same network.
You need a simple, all-in-one solution for any computer.
If talk of IP addresses and network settings makes you nervous, or you need to connect to various computers (Mac, Windows) from different devices (even your phone), then a third-party tool like Chrome Remote Desktop is your hero. It handles all the complex networking stuff for you, making access as simple as logging into your Google account.
Found the scenario that matches your goal? Perfect. Now, jump straight to the detailed, step-by-step guide for that method below.
2. Method 1: Connecting from your Mac to a Windows PC
Alright, so you’ve got your trusty Mac and a Windows PC you need to control. This is the most common remote desktop scenario out there, and frankly, it’s the setup I personally use almost every week to access specialized software on my Windows machine right from my MacBook.
We’ll use the official Microsoft Remote Desktop application, which is free and works brilliantly. The process involves two main stages: first, preparing your Windows PC, then setting up the app on your Mac.
Quick Steps for the Pros:

1. On the Windows Pro PC, enable Remote Desktop in Settings > System.
2. Open Command Prompt, run ipconfig, and get the IPv4 Address.
3. On the Mac, install Microsoft Remote Desktop from the App Store.
4. Click "+" > Add PC, enter the PC's IPv4 address, and save.
5. Double-click the new connection to start the session.
For a detailed walkthrough with screenshots and tips, follow the steps below.
2.1. First, prepare your Windows PC
Before we even touch your Mac, we need to tell your Windows computer that it’s okay to accept a remote connection.
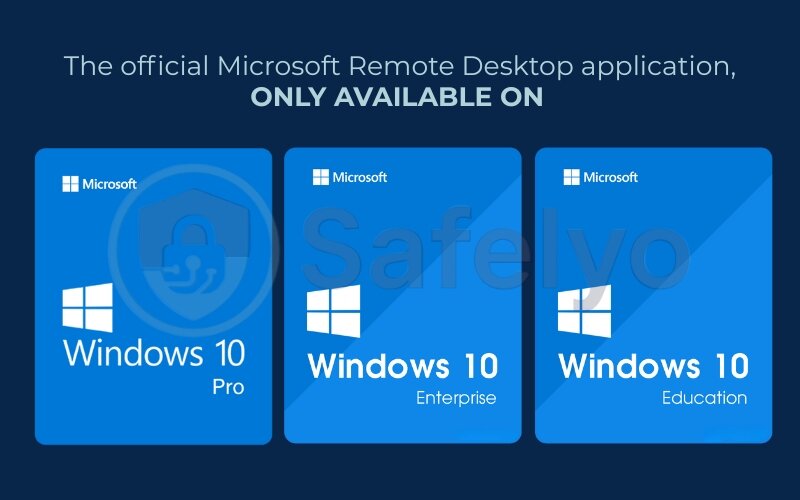
AN IMPORTANT HEADS-UP
This feature is only available on Windows Pro, Enterprise, or Education editions. If you’re using a Windows Home edition, it doesn’t have the necessary “host” capability built in. If that’s you, don’t worry! Just skip ahead to Method 3, as a tool like Chrome Remote Desktop will be your perfect solution.
If you have a Pro version, here’s how to get it ready:
- On your Windows PC, go to Settings > System > Remote Desktop.
- Find the Remote Desktop toggle and turn it on. You’ll get a confirmation prompt; just click Confirm.
- Next, we need the PC’s address. Think of this like a street address for your house; your Mac needs it to find the PC on your network.
- Click the Windows Start button, type cmd, and open the Command Prompt app.
- In the black window that appears, type ipconfig and press Enter.
- Look for the line that says “IPv4 Address.” The number next to it (something like 192.168.1.12 or 10.0.0.45) is what you need. Write this number down.
That’s it for the Windows side. You’ve now opened the door for your Mac to connect.
2.2. Install and configure Microsoft Remote Desktop on your Mac
Now, let’s head back to your Mac and install the client app.
- Open the App Store on your Mac.
- Search for “Microsoft Remote Desktop” and click “Get” or “Install.” It’s a free download.
- Once installed, open the application.
- Click the “+” button near the top left and select “Add PC.”
- A configuration window will pop up. This is where we tell the app how to find your PC. Don’t be intimidated; we only need to fill in two things:
- PC name: In this box, type the IPv4 address you wrote down from your Windows PC (e.g., 192.168.1.12).
- User account: You can leave this as “Ask when required,” or you can click the dropdown and select “Add User Account…” to save your Windows login details (username and password) so you don’t have to type them every time. I find this to be a huge time-saver.
- You can safely ignore all other settings like “Gateway” for a standard home connection. That’s mainly for complex corporate networks.
- Click the blue “Add” button.
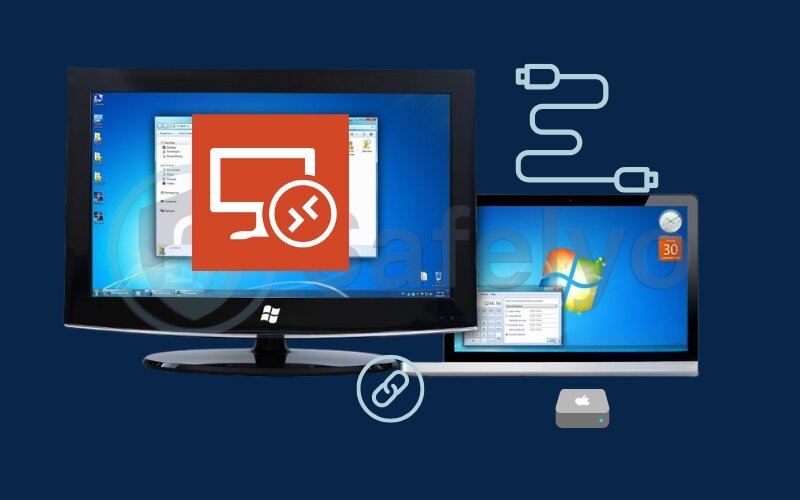
You should now see a new tile in the app representing your Windows PC.
2.3. Connecting and first-time use
This is the moment of truth.
- Double-click the tile for the PC you just added.
- The first time you connect, you’ll likely see a “Certificate Warning.” Don’t panic! I promise this is normal. It’s just your Mac saying it doesn’t formally recognize the self-generated security certificate of your PC.
- Click “Continue” to proceed.
And just like magic, your full Windows desktop should appear in a window on your Mac. You can now use the mouse and keyboard to control it completely, open apps, access files, and everything as if you were sitting right in front of it.
3. Method 2: Connecting from your Mac to another Mac
Need to access one Mac from another? You’re in for a treat because Apple has made this process incredibly straightforward. There’s no extra software to download, as everything you need is already built right into macOS. I use this all the time to manage my desktop iMac while I’m working on my MacBook from a different room.
This method uses a technology called VNC (Virtual Network Computing), but Apple just calls it Screen Sharing.
Quick Steps for the Pros:

1. On the Mac you want to control, go to System Settings > General > Sharing and turn on Screen Sharing.
2. Note the connection address shown (e.g., vnc://MacBook-Pro.local).
3. On your controlling Mac, open Finder, press Command + K to open "Connect to Server."
4. Paste the address from step 2 and click Connect.
5. Enter the username and password for the remote Mac.
For a more detailed guide, let’s walk through it together.
3.1. Prepare the machine you want to control
First, we need to give the “host” Mac (the one you want to see and control) permission to be accessed.
- On the Mac you wish to control, open System Settings. (You can click the Apple logo in the top-left corner and select it from there.)
- In the sidebar, click on General, then find and click on Sharing.
- Look for Screen Sharing in the list and toggle the switch to turn it on.
- Once enabled, you’ll see some text below the toggle confirming it’s on. Pay attention to the address listed, it will look something like Macs-iMac.local or vnc://192.168.1.15. This is the address we’ll use to connect. I recommend just jotting down the bolded computer name part.
- For added security, I strongly recommend clicking the small “i” (info) button next to the toggle and ensuring you have a strong password set for your user account.
3.2. Connect from your controlling Mac
Now, switch over to the Mac you’ll be using to do the controlling.
- Make sure you’re on the same Wi-Fi network as the other Mac.
- Click anywhere on your desktop to make Finder the active application.
- In the menu bar at the very top of your screen, click Go, then select Connect to Server…. (A pro tip I use every day: the keyboard shortcut for this is Command + K).
- A small window will pop up. In the Server Address field, type vnc:// followed by the address you noted earlier. For example: vnc://Macs-iMac.local.
- Click Connect.
- You will be prompted to enter the username and password for the user account on the Mac you are connecting to.
After you authenticate, a new window will open, showing you the desktop of the other Mac in real-time. You can now move your mouse and type on your keyboard to control it completely. It’s that simple!
4. Method 3: Easy, cross-platform access with third-party tools
What if you don’t have Windows Pro, or the idea of finding IP addresses and configuring settings sounds like a chore? Or maybe you just need a super simple way to connect to any computer (Mac or Windows) from anywhere, even your phone.
This is where third-party tools shine. They are designed for maximum simplicity. Personally, when a family member asks for tech help, I always use this method because it takes less than two minutes to set up on their end. Our top recommendation for this is Chrome Remote Desktop.
Quick Steps for the Pros:

1. On both computers, open Google Chrome and go to remotedesktop.google.com.
2. On the computer you want to control, go to the "Remote Access" tab and click the download button to set it up. Follow the prompts to install the helper tool, name your computer, and set a PIN.
3. On the computer you're controlling from, go to the same website. Your other computer will appear in the list.
4. Click its name, enter the PIN you created, and connect.
The best part about this method is that it bypasses the need to know IP addresses or configure firewalls. It just works, as long as both computers are online and have Chrome installed.
Here’s the step-by-step breakdown.
4.1. Step 1: Set up the computer you want to control
- On the computer you want to access remotely (this can be a Mac or a Windows PC), open the Google Chrome browser.
- Go to the Chrome Remote Desktop website: remotedesktop.google.com.
- You’ll see a box for “Set up remote access.” Click the blue download arrow icon.
- You’ll be prompted to install the “Chrome Remote Desktop” browser extension. Click “Add to Chrome” and then “Add extension.”
- After it’s added, the website will prompt you to give your computer a name. Choose something easy to remember, like “Office PC” or “My iMac.”
- Next, you’ll be asked to create a PIN with at least six digits. This is your private key to access this computer. Choose a strong, unique PIN and store it securely.
- The setup on this machine is now complete.
4.2. Step 2: Connect from your controlling computer
- Now, go to your other computer (your Mac, in this case).
- Open Google Chrome and go to the same website: remotedesktop.google.com. Make sure you are logged into the same Google account as the first computer.
- You will see the computer you just set up listed under “Remote devices.”
- Simply click on its name.
- Enter the PIN you created earlier and click the arrow to connect.
Instantly, the desktop of your remote computer will appear right inside your Chrome browser tab. This method is a lifesaver for beginners and anyone who values a quick, no-fuss setup.
Read more:
- How to disable VPN if I’m using Parallels on Mac? (Step-by-Step)
- How to find IP address on Mac? Try these 4 easy methods
- How to take screenshot on Mac: The only 3 easy methods you need
- How to clear my cache on Mac to free up space and boost speed
- How to set up a proxy server on Mac in 10 easy minutes
5. Important security tips for remote access
Setting up remote access is empowering, but it’s like adding a new door to your house – you need to make sure it’s properly locked. Opening up your computer to the internet, even just your local network, requires a bit of security mindfulness. Over my years in IT, I’ve seen how simple oversights can lead to big problems.
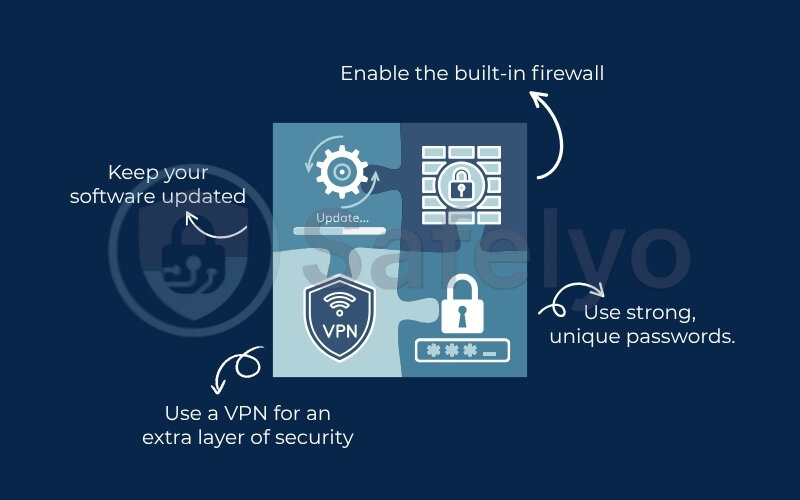
Here are four non-negotiable rules I follow to keep my own remote connections iron-clad.
Use strong, unique passwords.
This is the absolute number one rule. Your computer’s login password (or the VNC password you set in Method 2) is the main gatekeeper. If a hacker can guess it, they’re in. Don’t use “Password123” or your pet’s name. Think of a password like a toothbrush: don’t let anyone else use it, and get a new one regularly. Use a mix of upper and lowercase letters, numbers, and symbols. A password manager can be your best friend here.
Enable the built-in firewall.
Your Mac and Windows PC both come with a free, built-in firewall. Think of it as a security guard that monitors all incoming and outgoing network traffic, blocking anything suspicious. It’s usually on by default, but it’s always worth checking.
- On Mac: Go to System Settings > Network > Firewall and make sure it’s turned on.
- On Windows: Search for “Windows Defender Firewall” in the Start Menu and ensure it’s active for your network type.
Keep your software updated.
Hackers love exploiting known security holes in outdated software. When Apple, Microsoft, or Google release an update, it often includes critical security patches. I know update notifications can be annoying, but ignoring them is like leaving your front door unlocked because you were too busy to turn the key. Always install updates for your operating system and any remote desktop apps you use as soon as they’re available.
Use a VPN for an extra layer of security.
This is the ultimate step for peace of mind, especially if you ever connect from a public network like a café or airport. When you use Remote Desktop directly over the Internet, your connection is exposed.
A VPN creates a private, encrypted tunnel around your entire internet connection. Before anyone can even see that you’re trying to start a remote session, they’d have to break through the VPN’s military-grade encryption first.
It’s like building a secure, hidden tunnel directly to your home network’s front door. By connecting to your home VPN first, then starting your remote desktop session, you make your connection virtually invisible and impenetrable to outsiders.
6. Troubleshooting & pro tips for a smoother session
Even with a perfect setup, you can occasionally hit a snag. It happens to everyone, including me. The good news is that most remote desktop problems are common and have simple fixes. Here’s how to solve the most frequent issues, plus a few pro tips to make your remote experience feel less like a grainy video call and more like you’re actually there.
6.1. Common remote desktop problems and solutions
PROBLEM 1:

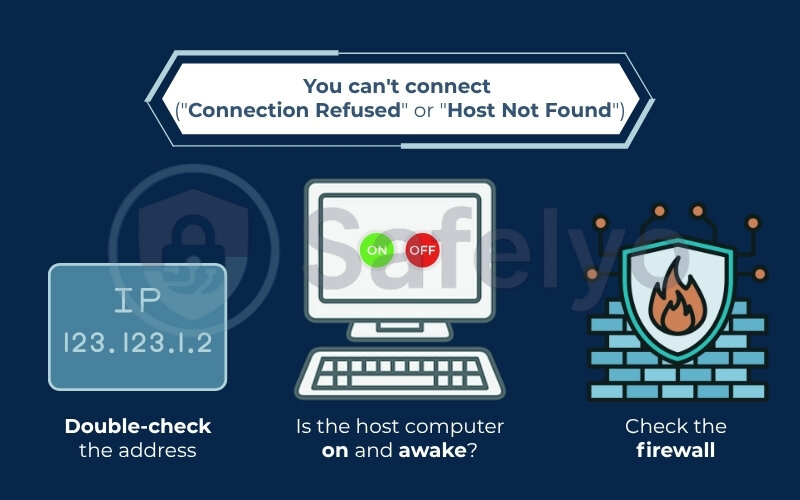
You can't connect ("Connection Refused" or "Host Not Found").
This is the classic “I can’t get in” issue. Before you panic, run through this simple checklist:
- Double-check the address: A single typo in the IP address or computer name is the most common culprit. Make sure 192.168.1.15 wasn’t accidentally typed as 192.168.1.51.
- Is the host computer on and awake? The remote computer must be powered on and not in deep sleep mode. I’ve made this mistake myself, trying to connect to a PC that I forgot to turn on.
- Check the firewall: Temporarily disable the firewall on the host computer and try connecting again. If it works, you’ve found the issue. You’ll need to re-enable the firewall and add an exception for remote desktop traffic.
PROBLEM 2:

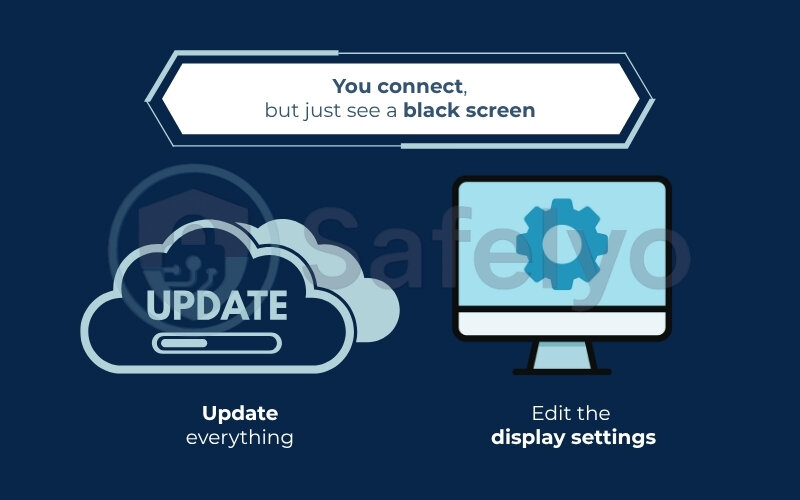
You connect, but just see a black screen.
This is a frustratingly common bug, especially with Microsoft Remote Desktop. It often relates to a mismatch in screen resolution settings.
- First, update everything: Ensure both your Mac and the host PC have all the latest system updates installed.
- Edit the display settings: In the Microsoft Remote Desktop app on your Mac, right-click the PC connection and choose “Edit.” Go to the “Display” tab. Try checking the box for “Optimize for Retina displays” or unchecking “Use all my monitors.” Toggling these settings often resolves the black screen issue.
PROBLEM 3:

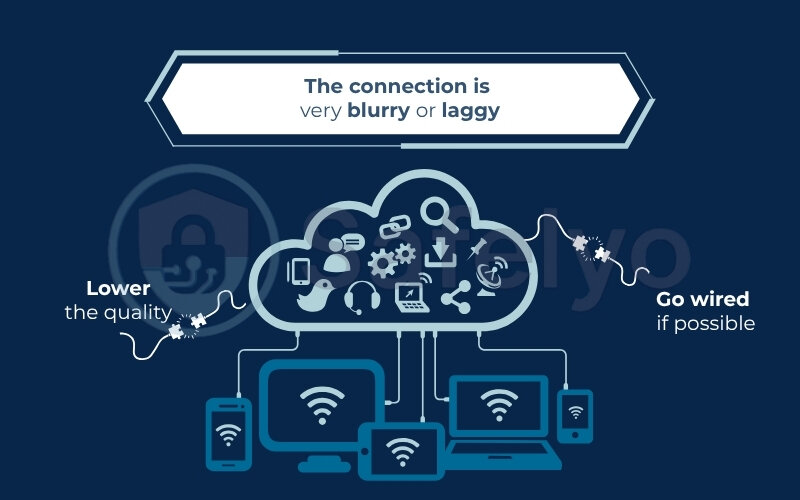
The connection is very blurry or laggy.
Your remote session feels like it’s stuck in molasses. This is almost always a network speed issue.
- Go wired if possible: The most effective fix is to connect both computers to your router using an Ethernet cable instead of Wi-Fi. A wired connection is faster and far more stable.
- Lower the quality: In your remote desktop app’s settings, look for display options. Reducing the color depth (from 32-bit to 16-bit) or lowering the resolution can dramatically improve performance without sacrificing too much visual quality for basic office work.
6.2. Pro tips for a better experience
Once you’re connected, a few small tweaks can make a huge difference in your workflow.
Master display modes
In Microsoft Remote Desktop, you can easily switch between a windowed session and a full-screen experience that makes you forget you’re on a Mac. Go to the Window menu at the top of your screen to toggle Full Screen. This is perfect for focusing on your work without your Mac’s Dock or menu bar distracting you.
Redirect folders for easy file access.
One of my favorite, lesser-known features in Microsoft RDP is folder redirection. In the connection settings (Edit > Folders), you can choose a folder from your Mac (like your Downloads or Documents folder) to appear as a drive inside your Windows session. This means you can save a file in Windows and have it appear instantly on your Mac, no manual file transfers needed. It’s an absolute game-changer.
7. FAQ about how to set up Remote Desktop on Mac
Here are some quick answers to the most common questions people have when setting up a remote desktop on a Mac.
How to set up a remote desktop connection on a Mac?
To control a Windows PC, use the Microsoft Remote Desktop app. To control another Mac, use the built-in Screen Sharing feature. For an all-purpose solution, a tool like Chrome Remote Desktop is easiest.
How do I connect to a remote computer on my Mac?
Open Finder, press Command + K, and enter the remote computer’s address (e.g., vnc://Computer.local). For a more robust connection to a Windows PC, use the dedicated Microsoft Remote Desktop application.
How do I set up a remote desktop connection?
It’s a two-step process: first, you must enable remote access on the computer you want to control (the host). Second, you use a client app on your own computer to connect to the host’s network address.
Can I control my Mac from a windows pc?
Yes. Enable Screen Sharing on your Mac and set a password. Then, on your Windows PC, use a VNC client app like RealVNC Viewer to connect using your Mac’s IP address and the password you created.
Is Apple Remote Desktop free?
No, the “Apple Remote Desktop” application is a paid tool for IT professionals. However, the standard feature for controlling another Mac, called “Screen Sharing,” is completely free and built into macOS.
Do I need to configure my router for remote desktop?
No, not for connections within the same local network. To connect securely over the internet, using a VPN or a tool like Chrome Remote Desktop is a highly recommended alternative to complex router configuration.
How to set up a DNS server on Mac?
Go to System Settings > Wi-Fi > Details… > DNS. Click the “+” button to add new DNS server addresses, such as 8.8.8.8 (Google) or 1.1.1.1 (Cloudflare), for potentially faster browsing.
8. Conclusion
Ultimately, knowing how to set up Remote Desktop on Mac is a skill that unlocks incredible flexibility, whether you’re working from home or providing support from afar. With the right method, the process is far simpler than it seems.
A NOTE ON PERFORMANCE:

Before you begin, remember that remote desktop performance heavily depends on the network speed of both computers. For visually demanding tasks like professional video editing or gaming, these methods are generally not suitable. They shine brightest for office work, file access, and technical support.
Let’s quickly recap what you’ve learned:
- Choose your path: You can now confidently select the right method, whether you’re connecting your Mac to a Windows PC, another Mac, or need a simple cross-platform tool.
- Master the methods: You have step-by-step instructions for using Microsoft Remote Desktop, macOS’s native Screen Sharing, and easy third-party apps.
- Stay secure: Most importantly, you know the critical security practices, like using strong passwords, firewalls, and a VPN, to keep your connections safe from prying eyes.
Don’t let distance limit your productivity. Start with the method that best fits your needs and take control of your digital workspace. At Safelyo, our goal is to make complex technology simple and secure for everyone. Keep following our Tech How-To Simplified series for more guides that empower you to navigate the digital world with confidence.


