In today’s digital world, knowing how to record screen on Windows 10 is essential, whether you’re creating tutorials, capturing browser-based cyber‑security demonstrations, or logging browser behavior in troubleshooting situations. Fortunately, Windows 10 includes built-in tools that make this process fast and accessible.
In this definitive guide, you’ll discover:
- The easiest native options like Xbox Game Bar, Snipping Tool, Powerpoint
- When and why to use third‑party tools like OBS Studio or ShareX
- Best practices for capturing system audio, microphone input, and webcam
- Tips related to cyber‑security and safe recording (e.g. avoiding malware‑affected tools)
Not sure which tool to use or how to get started? This guide breaks it down for you
1. How to record screen on Windows 10
There are several ways to record your screen on Windows 10, depending on your needs and available tools. This section will guide you through built-in options as well as third-party alternatives.
| Tool | Pros | Cons |
|---|---|---|
| Xbox Game Bar | Built-in, easy, records audio | App-only recording |
| Snipping Tool | Simple region capture, built-in | Not available on all builds |
| PowerPoint | Great for presentations | Basic editing options |
| OBS Studio | Full control, streaming, pro features | Learning curve |
| ShareX | Fast, free, customizable | No webcam capture |
1.1 Using Xbox Game Bar
Xbox Game Bar is a built-in screen recorder in Windows 10, perfect for capturing gameplay or app windows.
Go to Settings > Gaming > Xbox Game Bar and enable it.

Press Win + G to open the overlay.
Use the Capture widget or press Win + Alt + R to start/stop recording.

Toggle microphone input with Win + Alt + M if you want to record your voice.
Files are saved automatically in C:\Users\[Username]\Videos\Captures.
1.2 Using Snipping Tool
Some Windows 10 builds (especially with recent updates) include a Snipping Tool with screen recording functionality.
Open Snipping Tool and switch to the Record.

Select the area of the screen you want to record.
Press the red Start button to begin, and stop when done.
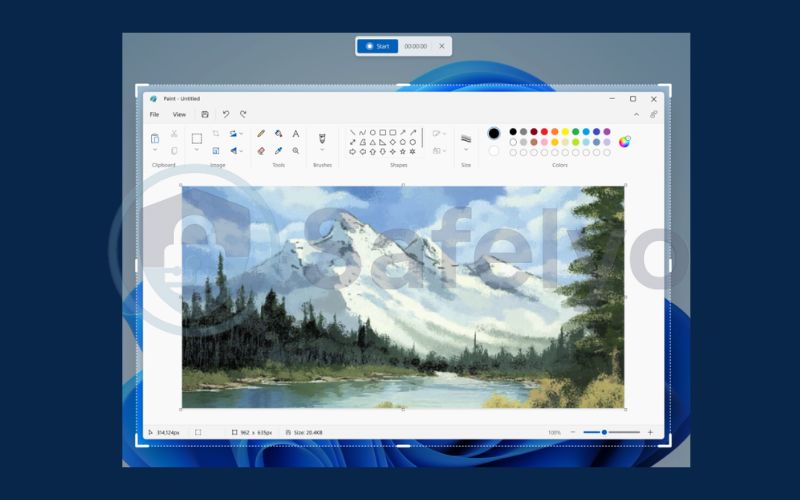
1.3 Using PowerPoint
PowerPoint can also function as a lightweight screen recorder, ideal for presentations and tutorials.
Open a presentation, go to Insert > Media > Screen Recording.

Select the area to capture, then enable audio and pointer if needed.

Press Record to begin.

Press Windows + Shift + Q on your keyboard to end the screen recording in PowerPoint. After stopping, the recorded video will automatically appear on the slide you were working on.
1.4. Using third-party tools (OBS Studio & ShareX)
If you need advanced features like multiple sources, webcam overlays, or streaming, use third-party tools.
- OBS Studio: Free, open-source, supports full-screen and app recording, webcam, system audio and live streaming.
- ShareX: Lightweight tool ideal for quick recordings or GIFs; supports annotations and fast uploads.
- Both offer high flexibility and are great for tech content creators or cybersecurity analysts.
Read more:
2. Screen recording safety: Cybersecurity and privacy best practices
When recording your screen, especially for professional or technical purposes, it’s important to keep your privacy and security in mind. Even simple recordings can expose sensitive data if not handled properly. Follow these best practices to stay safe:
- Download tools only from trusted sources, such as Microsoft, obsproject.com (for OBS Studio), or getsharex.com (for ShareX).
- Avoid using browser-based recorders that ask for excessive permissions or run unknown scripts.
- Check and manage app permissions, including access to your microphone, camera, and file system.
- Secure your recordings, especially if they contain confidential information, by encrypting them or storing them in a secure cloud or local directory.
3. Extra tips and shortcuts
Mastering a few extra shortcuts and tweaking some settings can save time and boost your recording quality. Below, you’ll find helpful key commands and pro tips to help you record smoother, clearer videos with less effort.
- Win + G: Open Xbox Game Bar
- Win + Alt + R: Start/Stop recording
- Win + Alt + M: Toggle microphone input
- Win + Shift + S: Launch Snipping Tool screenshot
Discover more:
4. FAQ about how to record screen on Windows 10?
If you’re new to screen recording on Windows 10, you might have a few questions before getting started. From built-in tools to shortcut keys and saving your recordings, this FAQ section covers the essentials. Whether you’re working on a project or just want to capture what’s on your screen, these answers will help you do it quickly and confidently.
Can Xbox Game Bar record my desktop or File Explorer?
No, Xbox Game Bar cannot capture your desktop or File Explorer windows. It is designed to record active application windows only, such as games or individual apps. If you need to record your desktop or system interface, consider using OBS Studio or PowerPoint’s screen recording feature instead.
How do I record both mic and system audio?
To record both your microphone and system audio:
With Xbox Game Bar, open the Capture widget and press Win + Alt + M to toggle microphone input while system audio is recorded by default.
With OBS Studio, go to the Audio Mixer and configure separate audio input/output sources under Settings > Audio. OBS gives you full control over both input (mic) and output (system) audio channels.
Where are my recordings stored?
Xbox Game Bar recordings are saved by default in: C:\Users\[YourName]\Videos\Captures
OBS Studio lets you set a custom folder via Settings > Output > Recording Path.
ShareX also allows you to specify a folder under Task Settings > File Naming and Output.
Always double-check the save location before starting a long recording session.
Are free tools like OBS and ShareX safe?
Yes, both OBS Studio and ShareX are open-source and widely trusted in the tech and cybersecurity communities.
Avoid downloading from unofficial sites or third-party app stores, as these may bundle malware or altered versions that compromise your system.
5. Conclusion
Learning how to record screen on Windows 10 equips you with a powerful way to share knowledge, solve problems, and document digital activity securely. From built-in tools to pro-level software, there’s a method for everyone.
To wrap up, here are the key points to remember:
- Use Xbox Game Bar for fast, app-specific recording
- Use Snipping Tool or PowerPoint for region/full-screen tutorials
- Use OBS Studio or ShareX for high-performance or customizable tasks
- Always prioritize cybersecurity and safe downloading practices
Taking a moment to learn how to record screen on Windows 10 properly can save you time, boost productivity, and strengthen your cybersecurity practices. For more practical tech guides like this, visit the Tech How-To Simplified category on Safelyo and take control of your digital workspace with confidence.