Knowing how to install and configure MySQL on Ubuntu isn’t just another technical task; it’s a foundational skill for any developer, system administrator, or tech enthusiast. It’s the first, critical step in bringing your web applications and projects to life.
Whether you’re building your first passion project, managing a production server, or just experimenting in a development environment, getting your database set up correctly from the start is the bedrock of a stable and secure application. A shaky foundation here can lead to performance issues and security vulnerabilities down the road.
As someone who has spent years wrangling servers and debugging applications, I’ve seen countless projects stumble because of a poorly configured database. It’s often the small, overlooked security steps at the beginning that cause the biggest headaches later. This isn’t just about running commands; it’s about understanding what they do.
In this step-by-step guide, updated for Ubuntu 22.04/24.04, I will cover:
- How to install MySQL with simple, copy-paste commands.
- The critical steps to secure your installation (and why they matter).
- How to create a new, dedicated user for your applications.
- Verifying that everything is running perfectly and troubleshooting common issues.
Let’s ditch the confusion and get it done right. I’m here to walk you through every command, every prompt, and every check to get your MySQL server running safely and efficiently on your system.
1. Quick commands
For experienced users who just need a quick refresher or a copy-paste-ready set of commands, this section is for you. Here’s the tl;dr (too long; didn’t read) to get your MySQL server up and running securely.
Generated code
# 1. Update package list and upgrade existing packages
sudo apt update && sudo apt upgrade -y# 2. Install the MySQL server package
sudo apt install mysql-server# 3. Run the security script (highly recommended)
sudo mysql_secure_installation# 4. Check if the service is running
sudo systemctl status mysql.service# 5. Access the MySQL shell as root
sudo mysqlFor a detailed breakdown of what each of these commands does, along with security best practices and troubleshooting tips, continue with our full step-by-step guide below.
2. Prerequisites
Before we dive into the commands, let’s go through a quick pre-flight checklist. Getting these things in order first will guarantee a smooth and error-free installation. Think of it as gathering your ingredients before you start cooking.
You will need:
A server running a recent Ubuntu LTS version.
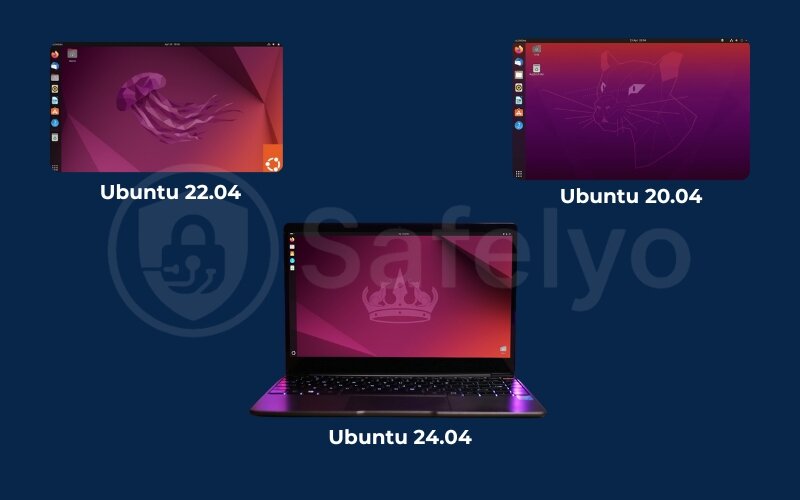
This guide is tailored for Ubuntu 24.04, 22.04, or 20.04. The “LTS” stands for Long-Term Support, which means these versions are stable, predictable, and receive security updates for years. I always recommend building on an LTS release; it’s like building a house on a solid rock foundation instead of shifting sand.
A non-root user with sudo privileges.
This is a critical security best practice. Running commands directly as the root user is like walking around with the master key to an entire city. One wrong move, and you can cause irreversible damage. Instead, we use a regular user account and temporarily elevate its permissions with sudo when needed. Trust me on this one, in my career, I’ve seen more server disasters caused by a single, accidental command run as root than I can count.
Note: If you’re starting with a brand-new server and are logged in as root, we strongly recommend creating a new user first. You can follow Safelyo’s guide on how to create a sudo user on Ubuntu to get that sorted.
A working internet connection.
Your server needs to connect to Ubuntu’s software repositories to download the MySQL package. Think of it as your server needing to visit the “Ubuntu App Store” to get the software.
With these three things in place, you’re all set. Let’s get to the installation.
3. Step 1: Installing MySQL server from Ubuntu’s repositories
Our first move is to install the MySQL server software. We’ll be using Ubuntu’s default software repositories for this. Think of these repositories as Ubuntu’s trusted, official library of software.
Why this way? Because the versions available here have been thoroughly tested to work perfectly with your specific version of Ubuntu. It’s the most stable and straightforward path to success. For nearly every project I’ve built over the years, from small blogs to complex web apps, this method has been the reliable choice.
3.1. Updating the package index
Before we install anything new, we need to make sure our server has the latest list of available software. It’s like checking the restaurant menu for the latest daily specials before you order.
In your terminal, run the following command:
Generated codesudo apt update
This command doesn’t install anything. It simply connects to Ubuntu’s servers and refreshes its local package catalog. You’ll see a bunch of lines fly by as it fetches the latest information.
3.2. Installing the MySQL server package
Now that our server knows what’s available, we can ask it to install MySQL.
Run this command:
Generated codesudo apt install MySQL-serversudo apt update
The system will now calculate all the necessary software packages (MySQL itself and its dependencies) and show you how much disk space they will use. It will then ask for your confirmation to proceed.
Just press Y and then Enter to continue.
The installation process will begin, and after a minute or two, you’ll have the MySQL server installed on your system. You’ll know it’s done when you’re returned to the command prompt without any error messages.
EXPERT TIP: Ubuntu Repository vs. Official MySQL Repository
You might see other guides mention adding MySQL’s own “official” repository. While that gets you the absolute latest version of MySQL, it can add complexity and is often unnecessary.
I strongly recommend using Ubuntu’s default repository for simplicity and rock-solid stability. The versions here are guaranteed to be compatible with your OS. For 99% of users, the Ubuntu version is the perfect and safer choice.
4. Step 2: Securing your MySQL installation (the critical step)
Congratulations, MySQL is installed! But right now, it’s like a new house with the default factory locks on the doors. It’s functional, but not truly secure. This next step is where we harden our installation, and it’s the most critical part of this entire guide. Skipping this is a risk you don’t want to take.
Thankfully, MySQL comes with a security script designed for exactly this purpose. To run it, enter the following command:
Generated codesudo MySQL_secure_installation
This script will walk you through a series of yes-or-no questions to lock down your database. From my experience, many beginners get confused at this step or just press ‘Y’ for everything without understanding why. Don’t worry. I’ll break down what each question means and give you my recommended answer for a secure, standard setup.
4.1. Validate password component?
“Do you want to set up a password strength checker?” This component will force any new MySQL passwords to be reasonably strong (e.g., requiring a certain length, numbers, and special characters).
It’s like a bouncer for your passwords. It won’t let a weak password like “12345” get in.
MY RECOMMENDATION:
Press Y and hit Enter. You’ll then be asked to choose a level of password validation: LOW (0), MEDIUM (1), or STRONG (2). I suggest choosing 1 for MEDIUM. It’s the Goldilocks choice – it requires a decent password without being so strict that you can never remember it.
After this, it will ask you to set a new password for the MySQL root user. Choose a strong, unique password and store it somewhere safe.
4.2. Remove anonymous users?
By default, MySQL creates an “anonymous” user that can log in without a password for testing purposes. This is a significant security hole.
MY RECOMMENDATION:
Press Y and hit Enter. This is a no-brainer. You never want unknown users to have any access to your database server.
4.3. Disallow root login remotely?
Should the root user (the super-admin account) be allowed to log in from other computers over the network?
This is like saying the building’s superintendent can only use their master key when they are physically inside the building, not from home. It massively reduces the risk of someone trying to guess your root password from halfway across the world.
MY RECOMMENDATION:
Press Y and hit Enter. This is a massive security win. The root user should only ever connect from the machine it’s installed on (localhost).
4.4. Remove the test database and access to it?
MySQL also creates a sample database named test that anyone can access. It’s there for a quick sanity check, but it’s useless and insecure for a real server.
MY RECOMMENDATION:
Press Y and hit Enter. Get rid of it. There’s no reason to leave this sample data lying around.
4.5. Reload privilege tables now?
“Do you want to apply all these changes right now?”
This is the final “Save” button. All the choices you just made won’t take effect until you do this.
MY RECOMMENDATION:
Press Y and hit Enter. This locks in all our new security settings.
And that’s it! You’ll see an “All done!” message. Your MySQL installation is now properly secured and hardened.
>> You may also be interested in: How to Dual Boot Windows 10 and Ubuntu: Beginner Guide
5. Step 3: Checking MySQL status and version
Now that we’ve installed and secured our MySQL server, the next logical step is to make sure it’s actually running properly. It’s like starting a car for the first time after an oil change – you want to hear the engine purr to know you did the job right.
First, let’s check the status of the MySQL service. On Ubuntu, services like MySQL are managed by a tool called systemd. We can ask it for a status report with this command:
Generated codesudo systemctl status MySQL.service
After running the command, you should see output that includes a line highlighted in green, saying active (running).
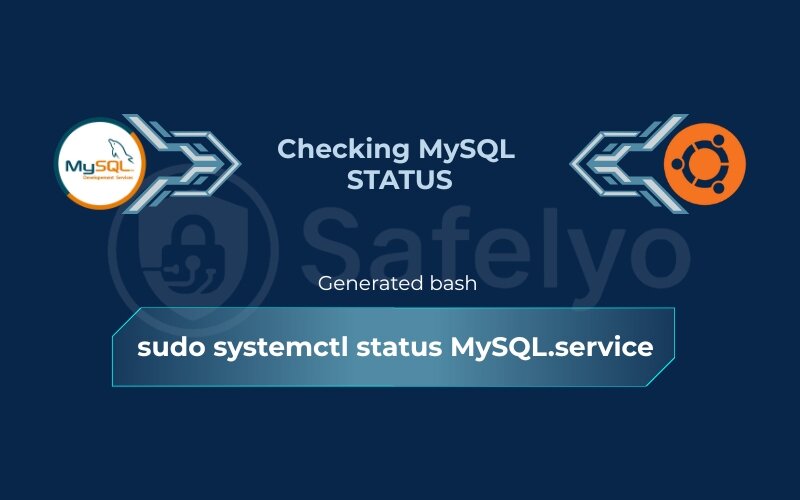
This is the confirmation we’re looking for. It tells us the MySQL server is up and running in the background, ready to accept connections. This command is my go-to sanity check whenever I’m troubleshooting a server; it’s the first thing I run to see if the service is even alive. If, for some reason, it’s not active, you can always try to start the MySQL service on Ubuntu manually with sudo systemctl start mysql.service.
(To exit this status view, just press the Q key.)
Next, let’s check the MySQL version on Ubuntu to see exactly what we’ve installed. This is useful for confirming compatibility with your applications.
Run the following command:
Generated codeMySQL --version
The output will be a simple line showing the specific MySQL version number, like MySQL Ver 8.0.36-0Ubuntu0.22.04.1 for Linux on x86_64 (Ubuntu).
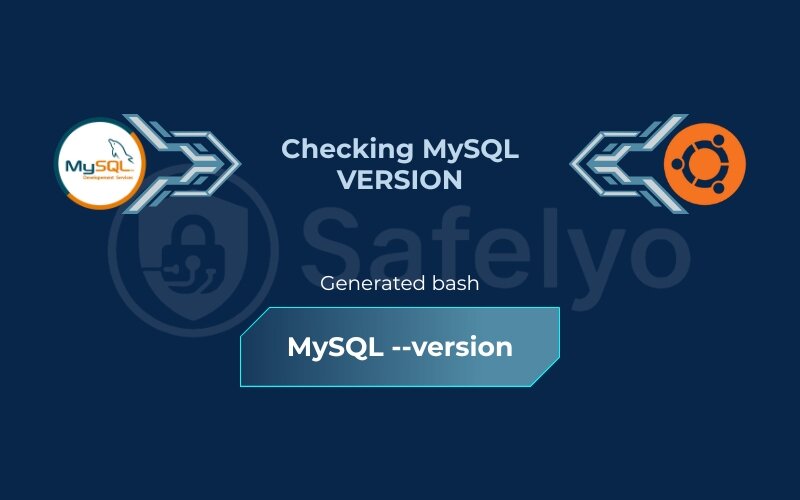
Seeing both the active (running) status and the version number confirms that our installation was a complete success. Now, let’s create a dedicated user for our applications.
6. Step 4: Creating a new MySQL user and granting privileges
Now that our MySQL server is secure and running, it’s time to set things up for our applications. A common mistake I see people make is connecting their application directly to MySQL using the root user. This is a terrible security practice.
Think of the root user as the building’s master key. It can open every door and access every room. You would never hand that key to a single tenant or a service contractor, right? Instead, you give them a key that only works for their specific apartment or the room they need to work in.
That’s exactly what we’re going to do here: create a new, dedicated user that only has access to the specific database it needs.
First, let’s log in to the MySQL command-line interface as the root user. Because of the secure authentication method configured by default on Ubuntu, the proper way to do this is with sudo:
Generated codesudo MySQL
You’ll notice you didn’t need to enter the password you set earlier. That’s because sudo MySQL uses a special plugin that checks if you’re the system’s root user and grants you access automatically. You’ll now see a new prompt that looks like MySQL>.
Now, let’s run the SQL commands to create our new user and database. Copy and paste the entire block below into your terminal, but be sure to replace the placeholder values with your own.
Generated sql

-- Create a new database for your application

CREATE DATABASE your_database_name;


-- Create a dedicated user for this database

-- IMPORTANT: Replace 'a_very_strong_password' with a real, secure password.

CREATE USER 'your_new_user'@'localhost' IDENTIFIED BY 'a_very_strong_password';


-- Grant all privileges on the new database to the new user

GRANT ALL PRIVILEGES ON your_database_name.* TO 'your_new_user'@'localhost';


-- Apply the changes so they take effect immediately

FLUSH PRIVILEGES;
Let’s quickly break down what we just did:
- CREATE DATABASE: This simply creates a new, empty database for your application’s data.
- CREATE USER: This creates the new user account. The ‘@’localhost’ part means this user can only connect from the server itself, which is a great security default.
- GRANT ALL PRIVILEGES: This is the “giving the key” step. It tells MySQL that your_new_user has full control (ALL PRIVILEGES) over every table (*) inside your_database_name.
- FLUSH PRIVILEGES: This command reloads all the user permissions, telling MySQL to recognize the changes we just made.
Once the commands run successfully, you can exit the MySQL prompt by typing:
Generated sqlexit;
You now have a secure database and a dedicated user ready for your application. I always follow this principle: One application, one database, one user. It keeps your server organized and drastically limits the potential damage if one application’s credentials are ever compromised.
7. Common troubleshooting and solutions
Even with a perfect guide, sometimes things go sideways. Over the years, I’ve run into (and helped others fix) just about every MySQL error imaginable. This section covers the most common roadblocks you might hit after an installation. Think of me as your on-call mechanic who has seen these problems a thousand times.
7.1. Problem 1: Access denied for user ‘root’@’localhost’
- The Scenario: You try to log in using MySQL -u root -p and enter the password you set, but the server rejects it. It’s incredibly frustrating because you know the password is correct.
- The Real Cause: This isn’t a password problem. On modern Ubuntu systems, the root MySQL user is configured by default to authenticate using a plugin called auth_socket, not a password. This plugin essentially checks, “Is the person trying to log in the system’s root user (or using sudo)?” If yes, it lets them in without a password.
The Solution: The correct way to log in as the MySQL root user is to use sudo. This satisfies the auth_socket check.
Generated bashsudo MySQL
I remember the first time I encountered this; it drove me crazy for an hour. Just remember: when you’re on the server itself, sudo MySQL is your key to the kingdom.
7.2. Problem 2: “How can I allow remote access to my MySQL server?”
- The Scenario: You want to connect to your database from another computer, like your local development machine, using a GUI tool, but the connection always times out.
- The Real Cause: For security, MySQL is configured by default to only listen for connections coming from the server itself (localhost or 127.0.0.1). It’s like a shop with its doors locked to the outside world, only allowing people already inside to move around.
The Solution (Use with Caution):
- Edit the configuration file. Open the main MySQL config file with a text editor: sudo nano /etc/MySQL/MySQL.conf.d/MySQLd.cnf.
- Find the bind-address line. It will likely look like bind-address = 127.0.0.1.
- Change it. To allow connections from any IP address, change it to bind-address = 0.0.0.0.
- Save the file and restart MySQL: sudo systemctl restart MySQL.service.
- CRITICAL: You must also configure your firewall (like UFW) to only allow traffic on port 3306 from your specific, trusted IP address. Opening it to the world (0.0.0.0) without a firewall is like leaving your front door wide open on a busy street.
7.3. Problem 3: “My MySQL service failed to start after I changed the configuration.”
- The Scenario: You made a change to the MySQLd.cnf file, and now MySQL won’t start. Running sudo systemctl status MySQL.service shows a “failed” state.
- The Real Cause: 99% of the time, this is due to a simple typo or syntax error in the configuration file you just edited. MySQL is very picky about its settings.
The Solution: You need to look at the error log to see exactly what MySQL is complaining about. The best tool for this is journalctl. Run this command to see the detailed logs for the MySQL service:
Generated codejournalctl -xeu MySQL.service
Scroll through the output (it can be long), and look for red lines or error messages. It will usually point you to the exact line in the config file that has the problem. I once spent 30 minutes debugging a failed service only to find I had forgotten a semicolon. The logs saved me. Always trust the logs!
8. FAQ about how to install and configure MySQL on Ubuntu
Here are answers to some of the most common questions that pop up after installing and configuring MySQL. I’ve gathered these directly from what I see developers and new sysadmins ask most frequently online.
How do I completely uninstall MySQL from Ubuntu?
To perform a complete removal, you need to not only uninstall the packages but also purge their configuration files. First, stop the service with sudo systemctl stop MySQL. Then, run sudo apt purge MySQL-server MySQL-client MySQL-common MySQL-server-core-* MySQL-client-core-*. Finally, remove the data directory with sudo rm -rf /var/lib/MySQL and the leftover configuration with sudo rm -rf /etc/MySQL.
What’s the difference between MySQL and MariaDB on Ubuntu?
For most users, they are practically interchangeable. MariaDB is a “fork” of MySQL, created by its original developers to ensure it remains open-source. It’s designed to be a drop-in replacement for MySQL, offering high compatibility while also introducing some of its own performance and feature enhancements.
How do I reset the root password if I forgot it?
This is an advanced procedure. The general steps involve stopping the MySQL service, restarting it in a special “safe mode” using the –skip-grant-tables flag, logging in without a password, using the ALTER USER command to set a new password, and then restarting the service normally. Always back up your data before attempting this.
Where is the MySQL configuration file located on Ubuntu?
The primary server configuration file, where you would make changes like the bind-address, is located at /etc/MySQL/MySQL.conf.d/MySQLd.cnf. The main /etc/MySQL/my.cnf file usually just loads the files from this directory.
9. Conclusion
Congratulations! By following this guide, you haven’t just learned how to install and configure MySQL on Ubuntu. You’ve established it according to modern security standards, creating a robust and reliable foundation for any application you build. From my experience, taking these extra few minutes to do it right from the start saves countless hours of troubleshooting later.
Let’s quickly recap what you’ve accomplished:
- You’ve successfully installed the MySQL server using Ubuntu’s stable repositories.
- You’ve run the MySQL_secure_installation script to harden your database against common threats.
- You now know how to create a dedicated, non-root user for your applications, a critical security best practice.
- You’re equipped to check the service status and troubleshoot common issues.
Treat this knowledge as a durable skill in your tech toolkit, as proper database management is invaluable. Now that your database is secure, the next logical step is to protect the entire server. Safelyo has you covered. Continue your security journey by checking out our complete guide on Tech How-To Simplified to build a comprehensive defense for your system.


