It’s incredibly frustrating when your antivirus, the very tool meant to protect you, ends up blocking a website you know and trust. This is a common issue known as a “false positive,” where Avast’s powerful Web Shield occasionally makes a mistake and flags a perfectly safe site as a potential threat.
The good news is there’s a quick and safe way to fix this. We’ll show you exactly how to add website to Avast Antivirus using its “Exceptions” feature. This clear, step-by-step guide, complete with pictures, will help you unblock the site and get back to what you were doing in just a couple of minutes.
In this guide, we will walk you through:
- The crucial security warning you must understand before starting.
- The clear, step-by-step process for adding an exception, complete with pictures.
- The simple method for removing a website from the exceptions list.
- Answers to common questions and troubleshooting advice.
1. What to know before you add an Avast exception
Before we jump into the steps, it’s essential to understand the security implications. Adding a website to your exceptions list is a powerful tool, but it should only be used with extreme care.
1.1 What is a “false positive”?
In the antivirus world, a “false positive” is simply a case of mistaken identity. It’s when Avast, in its effort to be proactive, incorrectly identifies a perfectly safe website, file, or program as a potential threat. While it can be annoying, it’s often a sign that the security shields are actively working.
1.2 The golden rule of adding exceptions
This is the single most important piece of advice in this entire guide. It is the golden rule of managing any antivirus software.
Warning: Never add a website to the exceptions list unless you are absolutely 100% sure it is safe.
When you add an exception, you are telling Avast to completely ignore that specific URL. If you are wrong and the website is actually malicious, you are creating a deliberate hole in your own defenses. This would allow malware to bypass Avast’s shields and infect your computer.
2. How to add website to Avast Antivirus
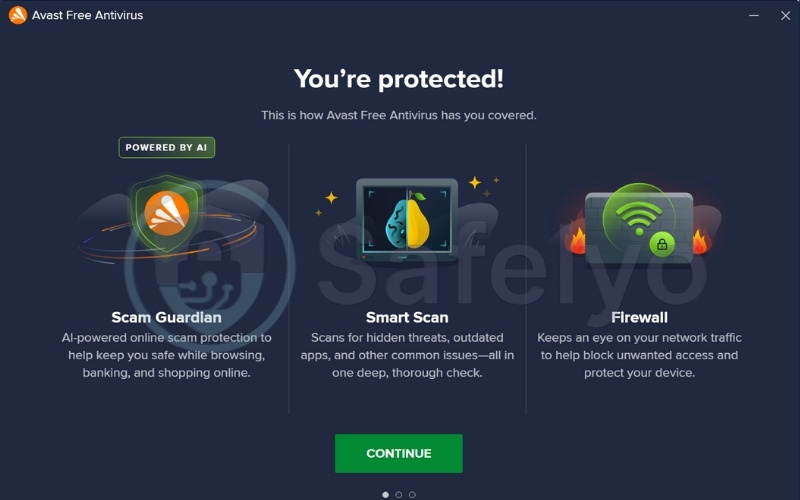
Follow these simple steps to safely add your trusted website. We’re using Avast Premium Security for this guide, but the process is nearly identical for Avast Free Antivirus and Avast One.
2.1 Step 1: Open your Avast application and go to the menu
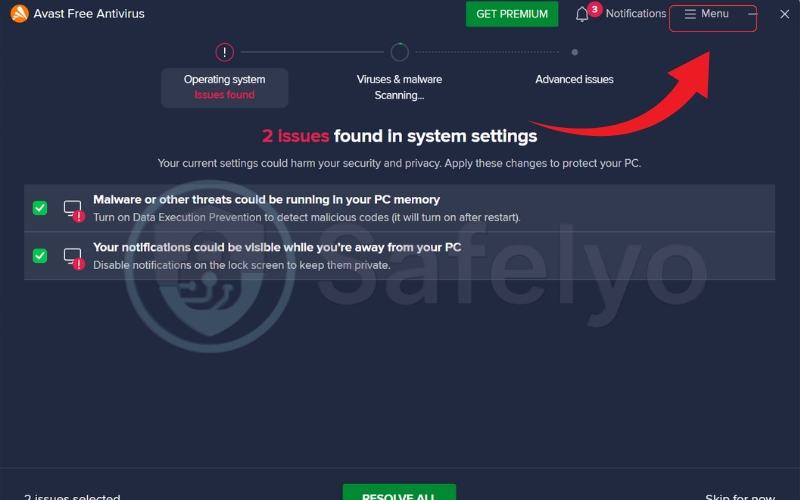
First, open the main Avast program window from your desktop or applications list. Look to the top-right corner of the screen, where you will find the Menu button.
2.2 Step 2: Navigate to settings
Clicking the Menu button will open a dropdown list. From this list, select Settings. It’s usually the second or third option from the top.

2.3 Step 3: Find the “exceptions” tab
You are now in the main settings area. On the left-hand side, ensure you have the General tab selected. On the main part of the screen, you will see a sub-menu; click on Exceptions.

2.4 Step 4: Click “add exception”
This screen shows a list of any exceptions you’ve already added. To add a new one, click the large, green + Add Exception button.

2.5 Step 5: Enter the website URL
A new window will pop up asking for the file path or URL. This is where you will type or paste the full address of the website you want to allow. For the best results, use the full URL and add /* to the end.
For example, to whitelist the entire Safelyo website, you would enter:
https://www.safelyo.com/*
The /* at the end tells Avast to trust all pages within that specific website address. Once you have entered the URL, click the green Add Exception button at the bottom of the pop-up.

2.6 Step 6: Confirm your new exception
You will now see the website you just added appear in the list on the main Exceptions screen. That’s it! You can now close the settings window.

Try to visit the website again in your browser. It should now load without being blocked by Avast.
>> Read more:
3. How to remove a website from the Avast exception list
If you’ve added a website by mistake or no longer need the exception, removing it is very straightforward. It’s a good security practice to periodically review and clean up this list.

Simply follow steps 2.1 through 2.3 from our guide above to return to the Exceptions screen. Once you see the list of your added websites, just hover your mouse cursor over the one you wish to remove. A trash can icon will appear on the right-hand side. Click it, and the exception will be instantly deleted.
>> Read more:
4. FAQs about adding a website to Avast Antivirus
Here are answers to a few common questions related to managing Avast exceptions and resolving false positives.
What’s the difference between adding an exception for the Web Shield vs. all shields?
The method we’ve shown adds the website to the general exceptions list, which applies to all of Avast’s shields. This is the recommended and simplest way to unblock a trusted website. Creating a specific rule just for the Web Shield is more complex and usually unnecessary for this purpose.
Should I just turn off the Avast Web Shield temporarily?
No, this is strongly not recommended. Turning off the Web Shield leaves your computer completely unprotected from malicious websites and online threats while you browse, not just on the one site you want to access. Adding a specific exception is a much safer and more precise solution.
How do I report a false positive to Avast?
Reporting the error helps Avast improve its software for everyone. You can do this by visiting Avast’s official web form for reporting false positives. Simply fill in the website address and submit it for review by their security team. This helps prevent the site from being blocked again in the future.
I added the exception, but the website is still blocked. What’s wrong?
A: This can happen occasionally. First, double-check that you entered the URL correctly in the exceptions list, including the /* at the end. If it’s correct, try clearing your web browser’s cache and cookies, as your browser might have saved the old “blocked” status.
Does this exception stay forever, even after an Avast update?
Yes, any exception you add is permanent and will remain in the list even after Avast updates its program or virus definitions. The only way it will be removed is if you manually delete it or choose to reset all your Avast settings to their default state.
Is this the same process for adding a program or file to the exceptions list?
The process is very similar. On the “Add Exception” pop-up screen, instead of typing a URL, you would click the “Browse” button and navigate to the specific file or program folder on your computer that you want to exclude from scans.
5. Conclusion
Knowing how to add website to Avast Antivirus is a useful skill that puts you in control of your software. The exceptions feature is a powerful tool for fixing annoying “false positives,” but it must always be used with caution.
Remember the golden rule we discussed: your computer’s security depends on you only adding 100% trusted websites to this list. By doing so, you can solve the immediate problem without compromising your overall safety.
To recap, here are the key points we covered:
- Always be certain a website is safe before adding it to the exceptions list.
- The process involves navigating to Menu > Settings > General > Exceptions.
- Adding a specific exception is always safer than disabling your Web Shield.
- Reporting false positives helps improve Avast for the entire community.
If you find that Avast is frequently giving you false positives and interrupting your workflow, it might be time to consider a more accurate solution. You can see our expert picks for the best antivirus software that balances powerful protection with a low rate of false positives.
Whitelisting a trusted site is one thing, but knowing how to spot a real threat is even more important. To continue learning, explore our full Antivirus category for more tutorials and expert tips. The team at Safelyo is dedicated to publishing clear, actionable advice that helps you stay secure online.


