
Knowing how to delete search history on iPhone Google is essential for anyone who values both privacy and performance. Every time you search with Google on your iPhone, your queries are stored, building a record of your interests, habits, and even sensitive information. While this can make it easier to revisit past searches, it also comes with risks. Your history may expose personal details to anyone who uses your device, clutter your browser with unnecessary data, and even slow down overall performance over time.
In this step-by-step guide, you’ll discover how to:
- The key reasons why deleting your search history matters for privacy and efficiency
- Step-by-step instructions to clear history in the Chrome app on your iPhone
- How to manage and permanently erase data directly through your Google Account for a complete cleanup
By the end, you’ll have simple but effective tools to maintain a safer, faster, and more private browsing experience on your iPhone. Keep reading to take full control of your search history.
1. Why delete search history on iPhone Google?
Many iPhone users rely on Google every day, but not everyone realizes how much information is stored in their search history. While it can be convenient for quickly revisiting past searches, keeping this history for too long has clear drawbacks. Here are the main reasons you should regularly delete it:
- Privacy protection: Your search history contains a record of everything you’ve looked up, from personal interests to sensitive topics. If a friend, coworker, or family member borrows your iPhone, they can easily see this history. By deleting it, you keep your private browsing activity safe and hidden.
- Avoid embarrassment: Google often uses your past activity to suggest search completions. If you’ve searched for something personal or awkward, those suggestions could pop up at the wrong time, especially if you’re showing your phone screen to someone else. Clearing history prevents those unwanted moments.
- Free up storage: Over time, search history combines with cached images, cookies, and saved site data. This doesn’t just clutter your Google app or browser. It also takes up valuable space on your iPhone. Regular cleanups help reclaim storage and prevent your device from slowing down.
- Improve performance: Old browsing data can make apps like Chrome or Safari sluggish, causing pages to load more slowly or even crash. By deleting your history, you refresh the browser, reduce background clutter, and improve overall performance.
Regularly clearing your Google search history is a small action, but it has big benefits for your privacy, storage, and device speed.
>> You may also be interested in: How to clear cache on Chrome for Windows, Mac, Android & iPhone
2. How to delete search history on iPhone Google
If you often use Chrome on your iPhone, you can clear your browsing history directly in the app. Here’s how to do it:
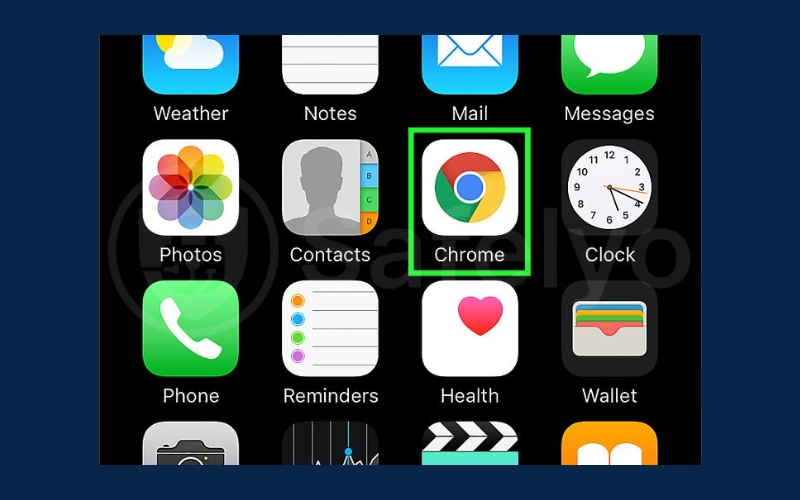
Step 1: Open the Chrome app on your iPhone. If you don’t want Chrome to save sites in the future, consider using Incognito mode.
Step 2: Tap the three-dot menu at the bottom or top-right corner to open more options.

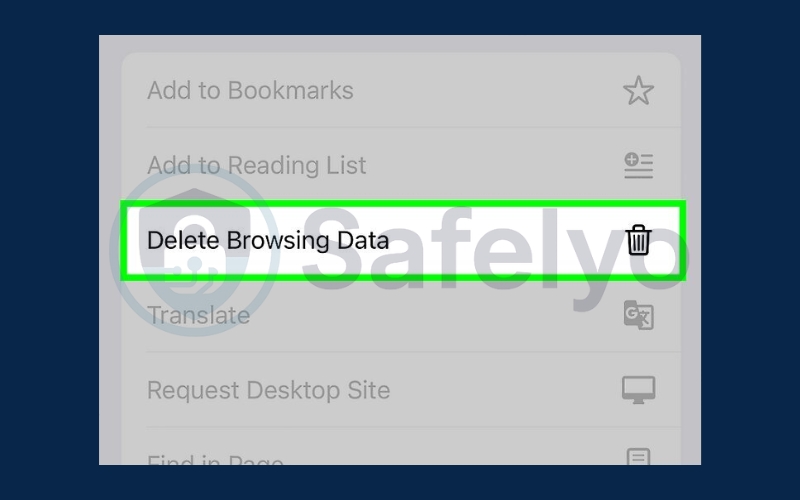
Step 3: Select Delete Browsing Data. You can also go to History > Delete Browsing Data.
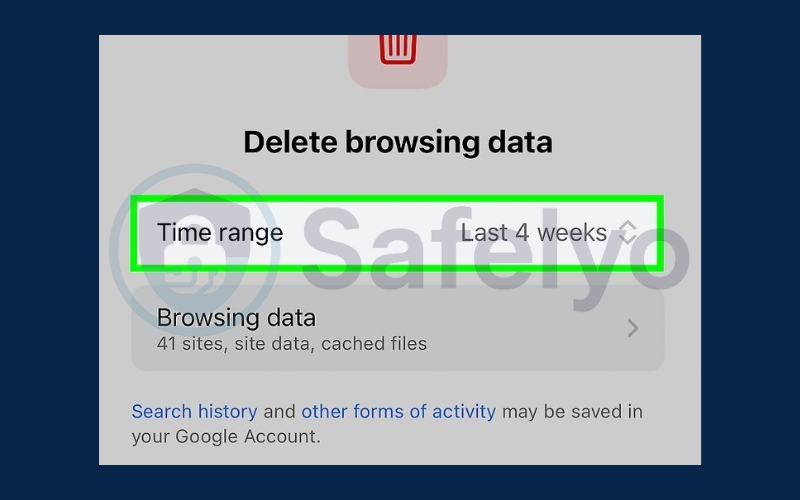
Step 4: Choose a time range such as Last 15 minutes, Last hour, Last 24 hours, Last 7 days, Last 4 weeks, or All time.
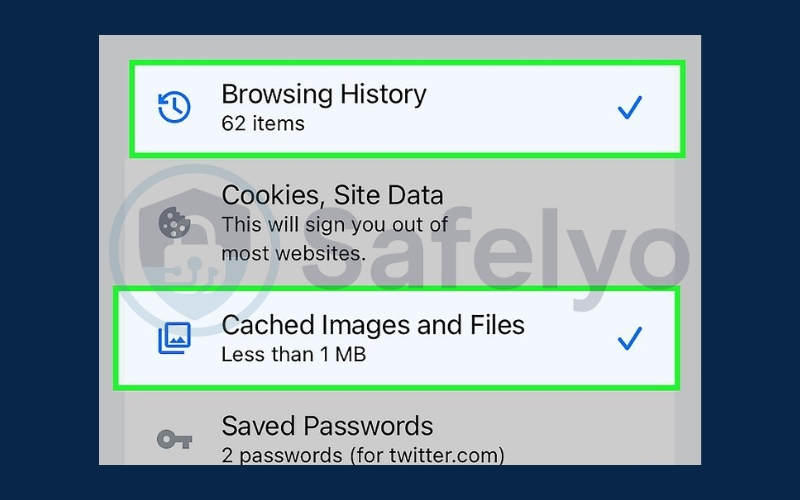
Step 5: Pick the types of data you want to remove, including Browsing history, Cookies and site data, Cached images and files, Saved passwords, and Autofill information.
Step 6: Tap Clear Data to confirm. This will also erase synced data across other devices connected to your Google account.

>> See also:
3. How to delete search history on iPhone Google on Google App
If you want to remove all Google search activity, you can manage and delete it straight from your Google Account. Follow these steps:
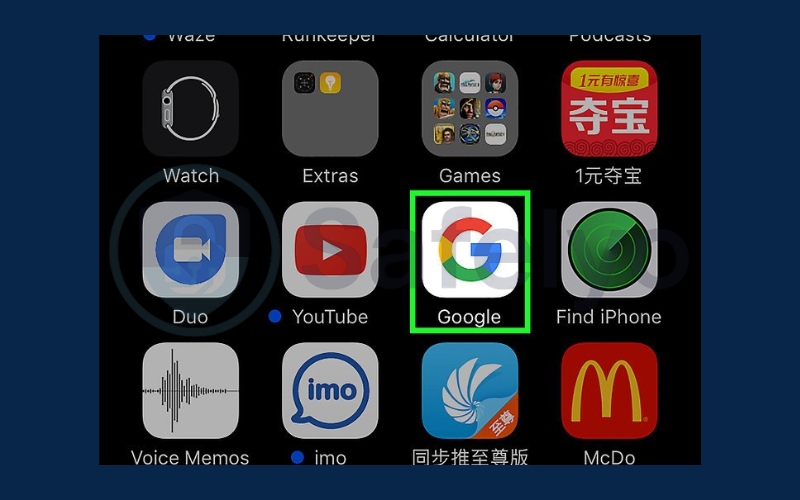
Step 1: Open the Google app on your iPhone. If you usually search using the app, this is the easiest way to manage your history.
Step 2: Tap your profile icon in the top-right corner of the screen.

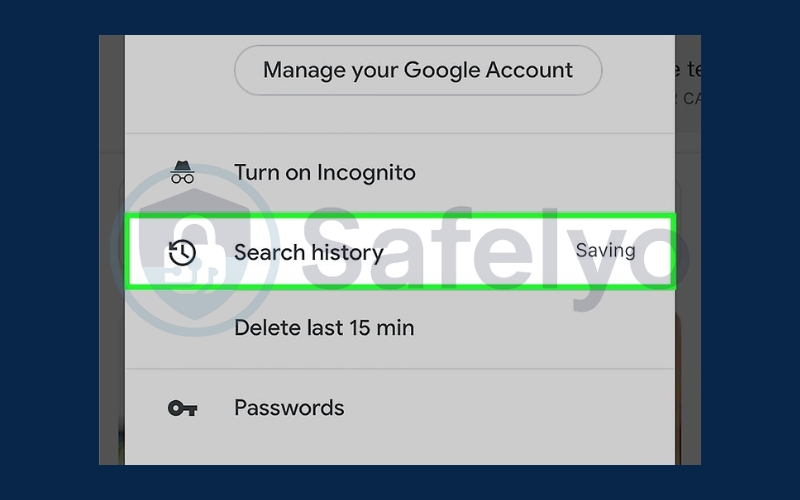
Step 3: Select Search history to view and manage your past activity.
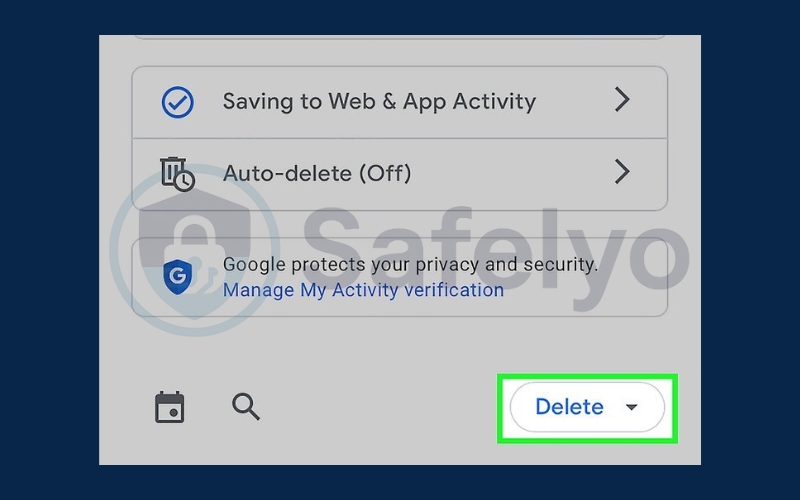
Step 4: Tap Delete located above the list of searches.
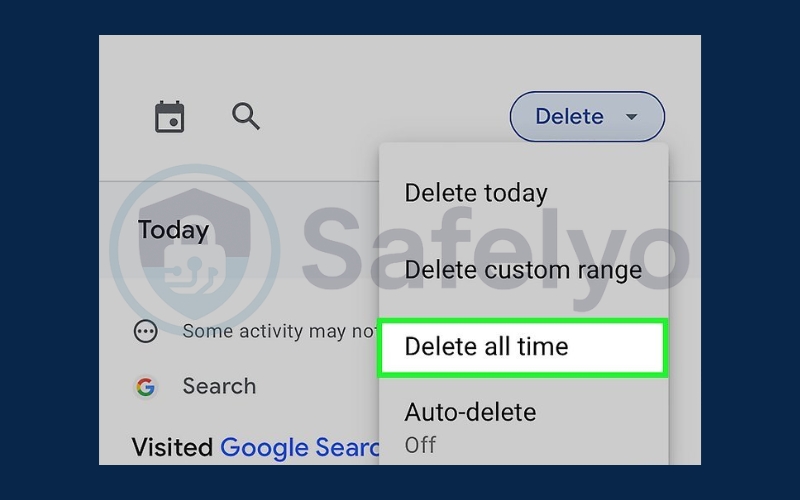
Step 5: Choose a time range such as Last hour, Last day, Custom range, or All time if you want a full wipe.
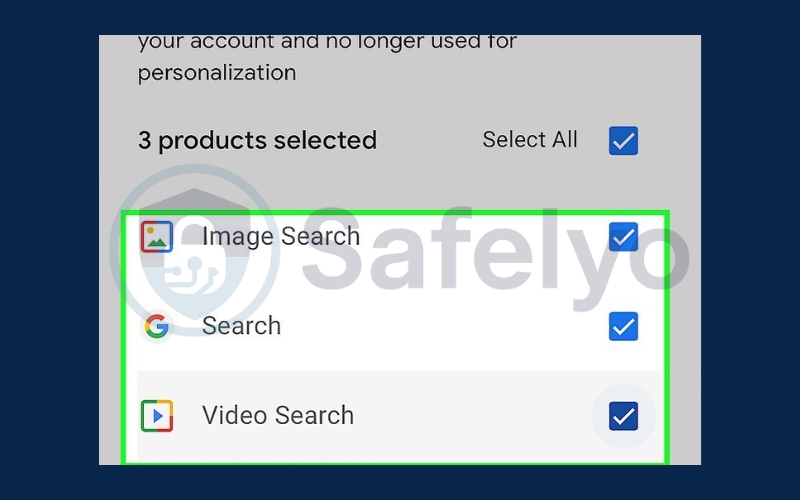
Step 6: Pick the Google products you want the history removed from, then tap Next.
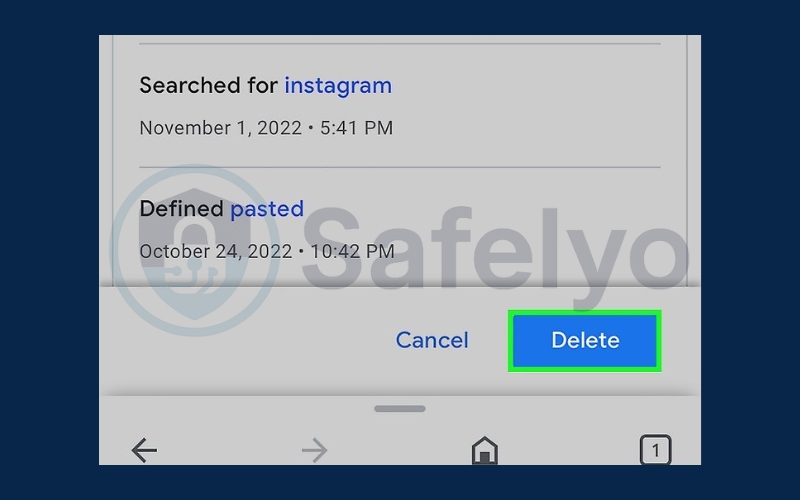
Step 7: Confirm by tapping Delete to erase your selected search history.
>> Read more:
4. FAQs about deleting search history on iPhone Google
Many iPhone users still have questions when it comes to managing their Google search history. Below are some of the most common questions with clear answers to help you better understand the process.
Does deleting search history also delete suggestions?
Yes, clearing your search history will also remove past suggestions that appear in the search bar. However, keep in mind that Google can still generate new suggestions based on your recent searches or activity once you continue using the app.
Can I recover deleted Google search history on iPhone?
In most cases, once your search history is deleted, it cannot be recovered. The only exception is if your activity was synced and backed up to your Google Account before deletion. In that case, you may be able to view some of it from your account settings.
Is clearing history the same as deleting cookies?
Not exactly. Clearing history removes records of the websites and searches you’ve visited, while cookies store login details, preferences, and site data. For full privacy, you may need to clear both history and cookies, as they serve different purposes.
Does clearing history improve performance?
Yes, removing old browsing data helps free up storage and can make Safari or Chrome run faster. Over time, stored history and cache can slow down loading speeds, so regularly clearing them ensures smoother performance on your iPhone.
5. Conclusion
Learning how to delete search history on iPhone Google is more than just a quick cleanup. It’s a smart way to strengthen your digital privacy and ensure your device runs at its best. By regularly managing your history, you reduce unnecessary data buildup, protect your personal searches, and enjoy a smoother browsing experience.
Here’s a quick recap of the main steps:
- Clear the history in Safari if you use Google through your iPhone’s default browser.
- Clear history in Chrome directly from the Chrome app.
- Manage and delete activity via your Google Account for a complete, cross-device wipe.
- Apply privacy best practices such as using Incognito mode or disabling Web & App Activity to prevent future tracking.
Taking these steps not only improves your iPhone’s performance but also helps you stay in control of your personal data. For clearer, step-by-step guides on privacy and technology, explore the Tech How-To Simplified category on Safelyo and make your digital life more secure.


