
05/02/2026
How to change iPhone location without VPN: 5 proven methods (2026)
Many users realize that turning on a VPN doesn’t fool apps like Pokémon GO or Tinder because they rely on GPS data, not just IP...

Easy tech guides for beginners. Learn VPN setup, IP checks, and privacy tips with step-by-step tutorials, visuals, and trusted VPN recommendations.
Total posts: 9 / 182
05/02/2026
Many users realize that turning on a VPN doesn’t fool apps like Pokémon GO or Tinder because they rely on GPS data, not just IP...

04/02/2026
Stuck with limited trading options while the rest of the world enjoys Bybit’s professional tools and deep liquidity? However, strict regulations and geo-blocks make direct...

16/12/2025
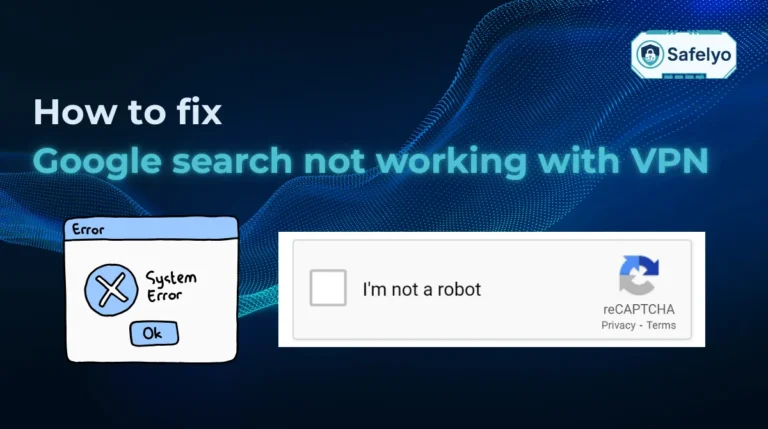
You turn on your VPN for privacy, but suddenly Google blocks the connection or bombards you with endless “I am not a robot” CAPTCHAs. It...

19/01/2026
How to unblock Instagram on school computer without VPN is a question many students ask when school firewalls prevent access to social platforms during breaks...

14/01/2026
Reddit is one of the largest online forums, connecting millions of users through communities on virtually every topic. However, not everyone chooses to stay indefinitely....
20/01/2026
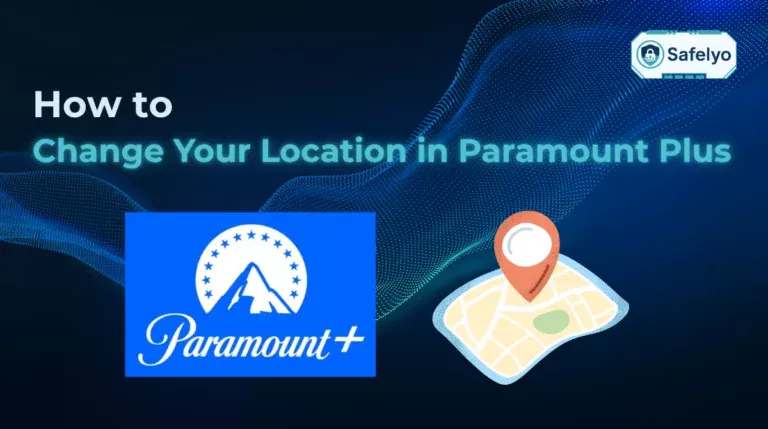
Suppose you are wondering how to change your location in Paramount Plus. In that case, you can do it by refreshing your home network, verifying...
27/01/2026
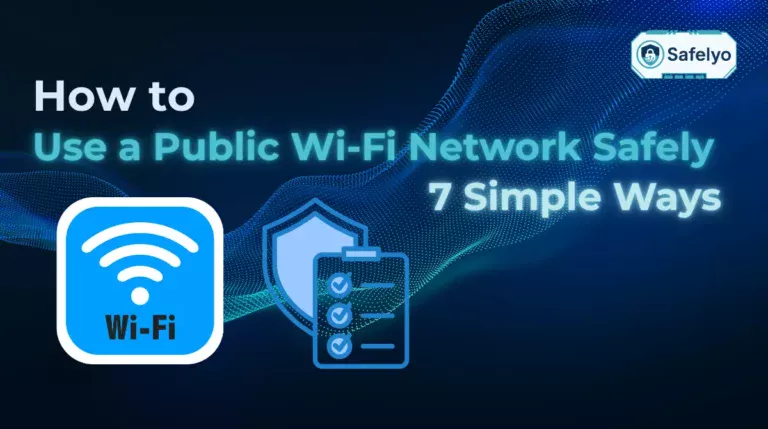
You see two Wi-Fi options at a café: “Cafe_Guest” and “Cafe_Guest_Fast.” You connect to “Cafe_Free_Fast” because the signal looks stronger than the standard network. You...
20/01/2026
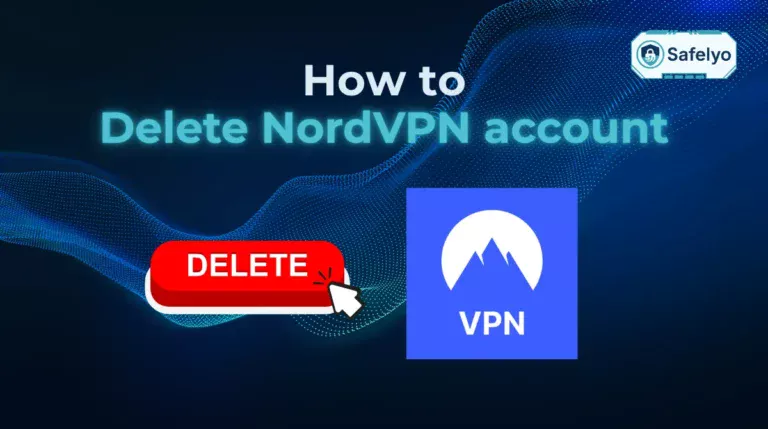
If you’ve been wondering how to delete NordVPN account and completely remove your data from all Nord services, the process is easier than it looks....
20/01/2026
If you are searching for how to unsubscribe from NordVPN, the process is straightforward once you identify where your plan was purchased. You can cancel...

