If your backups crawl, video calls stutter, or cloud edits lag, you are really asking one thing: how to improve your upload speed quickly and safely. During a week of remote workshops, my slides kept freezing until I switched from Wi-Fi to Ethernet, moved my 2.4 GHz network to a cleaner channel, and prioritized my laptop with QoS. My upload rose from about 4 Mbps to about 18 Mbps, and the stutters disappeared.
In this guide, you’ll get:
- Upload vs. download and where upload matters
- Likely causes of slow uploads you can actually fix
- Quick wins (restart, Ethernet, stop background sync, test properly)
- Advanced methods (QoS, channels, firmware/drivers, DNS, VPN caveats)
- Step-by-step troubleshooting and clear FAQs
Let’s start with the fundamentals so every fix that follows makes sense.
1. What is upload speed?
Before you can learn how to improve your upload speed, it’s important to understand what it measures.
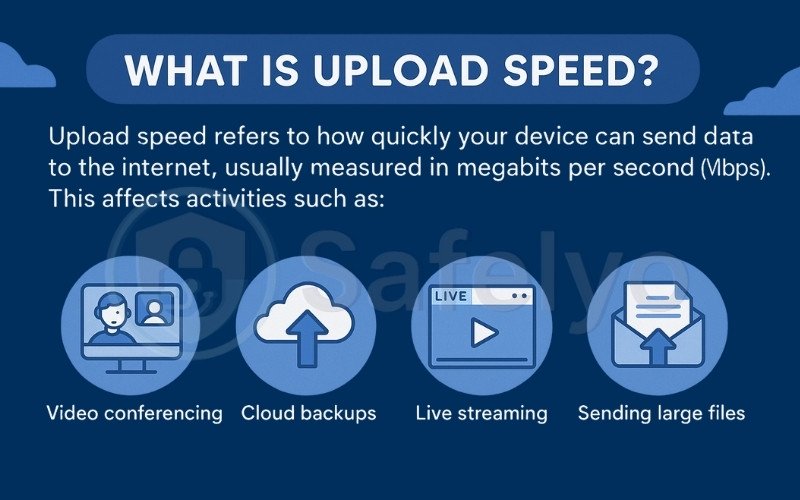
Upload speed refers to how quickly your device can send data to the internet, usually measured in megabits per second (Mbps). This affects activities such as video conferencing, cloud backups, live streaming, and sending large files.
While download speed measures how fast you receive data from the internet, upload speed is the reverse and focuses on how fast you send information out. In most home internet plans, download speeds are much higher than upload speeds because typical usage like streaming or browsing needs more downloading.
According to the Federal Communications Commission (FCC), an upload speed of around 3 Mbps can handle basic activities such as sending emails, but higher speeds are required for smooth HD video calls or transferring large files without interruptions.
2. Common causes of slow upload speeds
Slow uploads can happen for many different reasons, and knowing these causes is the first step in learning how to improve your internet upload speed effectively. Once you identify the real issue, you can apply the right fix without wasting time.
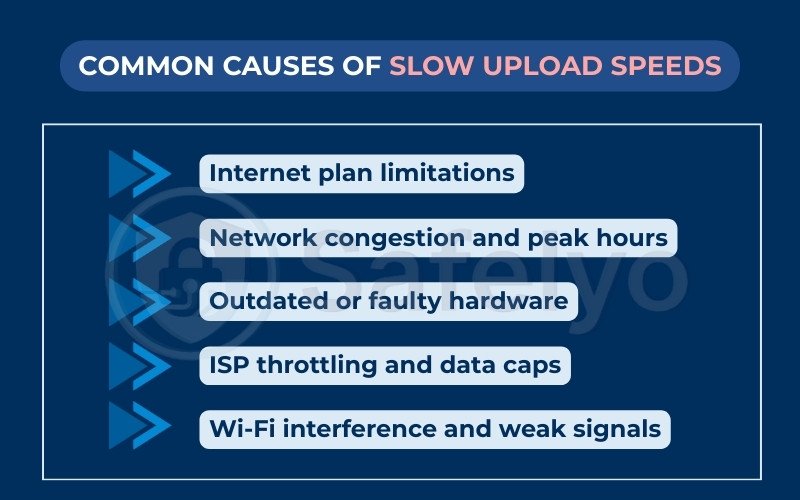
2.1. Internet plan limitations
Many ISPs design plans with much lower upload speeds compared to download speeds. If your plan caps uploads at a low rate, you will struggle to improve it without upgrading.
2.2. Network congestion and peak hours
When many people in your area use the internet at the same time, the network can become overloaded. This is common in the evenings when households are streaming, gaming, and video calling simultaneously.
I used to get frustrated trying to upload a 5-minute family video to YouTube every evening. During the day, it was fast, but after 7 p.m., the progress bar slowed to a crawl.
After some research, I realized that it was rush hour, when my entire neighborhood was home watching movies and playing games. The problem wasn’t my home network being slow, but the entire network in the area being overloaded.
2.3. Outdated or faulty hardware
Old routers, modems, or damaged cables can limit your connection’s potential. Even if you pay for high-speed internet, outdated equipment can bottleneck performance.
2.4. ISP throttling and data caps
Some ISPs slow down specific types of traffic or limit speeds after you reach a certain data threshold. This is known as throttling and can directly impact your upload speed.
2.5. Wi-Fi interference and weak signals
Walls, electronic devices, and distance from the router can weaken your Wi-Fi signal. A weaker signal leads to slower uploads, especially if you are far from the router or in a crowded wireless environment.
Understanding these causes makes it easier to apply the right solution, which I will cover in the next section on quick fixes to improve your upload speed.
3. How to improve your upload speed – Quick fixes
If your upload speed is lagging, you don’t always need to upgrade your internet plan right away. Often, a few small adjustments at home can deliver noticeable improvements. Below are practical quick fixes you can try immediately.
3.1. Restart your router and modem
A quick restart can clear temporary glitches that build up in your networking equipment. This is one of the simplest steps in learning how to improve your upload speed without spending money.
How to do it:
- Turn off your router and modem, or unplug them from the power source.
- Wait for at least 30 seconds so any residual memory clears.
- Plug the modem back in first and let it fully reconnect (indicator lights should be stable).
- Then power on your router and wait until it’s ready.
I once had a work presentation file stuck at 2% upload for nearly ten minutes. After restarting my modem and router, the speed immediately returned to normal, and the file finished uploading without further issues.
3.2. Use a wired Ethernet connection
Wi-Fi is convenient but can be unstable, especially if you’re far from the router or in a crowded wireless environment. A wired connection eliminates most interference.
How to do it:
- Get a good-quality Ethernet cable (Cat5e or Cat6 is recommended).
- Plug one end into your device’s Ethernet port and the other into the router’s LAN port.
- Turn off your device’s Wi-Fi to make sure all traffic goes through the wired connection.
3.3. Limit devices and background uploads
Upload bandwidth is shared between all connected devices. The more devices using the network at the same time, the less speed each will have.
How to do it:
- Log in to your router’s admin panel to see all connected devices.
- Disconnect devices you’re not currently using.
- Pause any large cloud backups (Google Drive, Dropbox, iCloud) until your task is complete.
3.4. Clear your browser cache and cookies
When uploading through a web browser, a cluttered cache can cause delays or even failed uploads. Clearing it makes your browser more responsive.
How to do it:
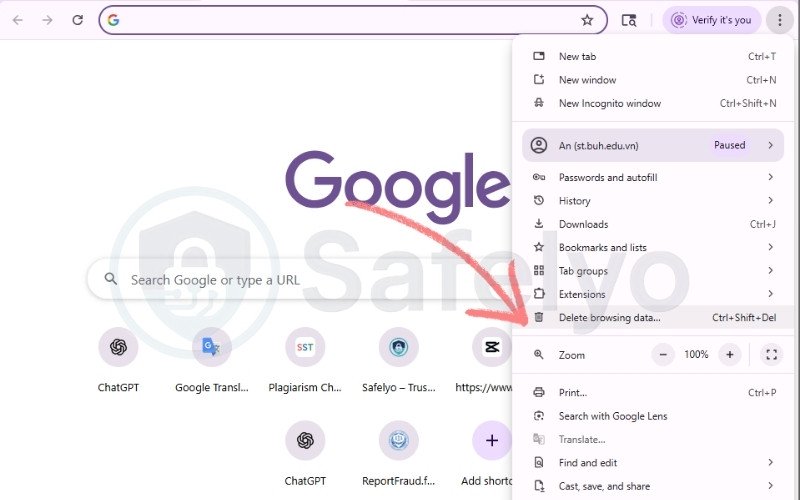
- Open your browser settings.
- Find the option to “Clear browsing data.”
- Select “Cached images and files” and “Cookies and other site data.”
- Choose a time range (select “All time” for a full cleanup).
- Confirm and restart your browser.
3.5. Run an internet speed test
Before making bigger changes, it’s worth confirming your actual upload speed to see how it compares to what your plan offers.
How to do it:
- Visit a trusted testing site like Speedtest.net or Fast.com.
- Close unnecessary apps before running the test.
- Note both download and upload speeds.
- Repeat at different times of the day to spot patterns.
If these quick fixes don’t bring your upload speed up to the level you need, it’s time to look at more advanced solutions that address deeper network issues.
4. How to increase upload speed – Advanced methods
If you’ve tried quick fixes and your upload speed is still not where you need it to be, the next step in how to improve your upload speed is to make more permanent improvements. These advanced methods require a bit more effort, but they can lead to significant and long-lasting results.
4.1. Upgrade to a plan with higher upload speeds (prioritize symmetrical speeds)
If software tweaks do not deliver results, the limitation may come from your current internet plan. In the past, most residential plans offered high download speeds but very low upload speeds (asymmetrical).
The trend in 2025 is moving toward symmetrical speed plans, where upload speed matches download speed. Once exclusive to business packages, symmetrical speeds are now becoming more accessible to home users, especially with Fiber-to-the-Home (FTTH) networks. This shift supports the growing demand for remote work, livestreaming, and cloud storage.
How to do it:
- Ask the right question: When contacting your ISP, don’t just ask about download speeds. Instead, ask directly, “What is the upload speed on this plan?” or “Do you offer symmetrical speed packages?”
- Prioritize fiber: If your area has fiber infrastructure, choose it. Fiber provides the most stable and highest upload speeds currently available.
- Match your needs: A streamer or content creator may need upload speeds of 50–100 Mbps or more, while an office worker might be comfortable with 20–30 Mbps for smooth HD video calls.
4.2. Upgrade your router/modem to the latest generation for 2025
Your networking equipment is the gateway to the internet. Even if you pay for the fastest plan, an outdated router or modem can act as a bottleneck, limiting your speeds. Upgrading hardware is a smart investment to unlock your full potential.
What to look for in 2025:
- Choose a Wi-Fi 7 (802.11be) router: For future-proofing, consider Wi-Fi 7 routers. Their standout Multi-Link Operation (MLO) feature allows devices like laptops and smartphones to connect simultaneously on multiple bands (e.g., 5 GHz and 6 GHz). This creates a highly stable “data superhighway,” minimizing lag during livestreams or important calls. If one band faces interference, data seamlessly switches to the other.
- Check for 2.5 Gbps WAN/LAN ports: Many fiber plans now exceed 1 Gbps. If your router only has a 1 Gbps WAN port, it will cap your speeds. Look for routers with at least one 2.5 Gbps WAN port to avoid future limitations.
- For cable internet users: If you use coaxial cable service, consider modems supporting DOCSIS 4.0. This technology promises cable upload speeds close to fiber, addressing cable’s traditional upload weakness.
- Check compatibility: Always confirm that your new router/modem is compatible with your ISP and supports the full speed of your plan.
I upgraded from an ISP-provided Wi-Fi 5 router to a Wi-Fi 6E model with a 2.5 Gbps port, and my upload speed nearly doubled without changing my plan. My online gaming latency also dropped noticeably.
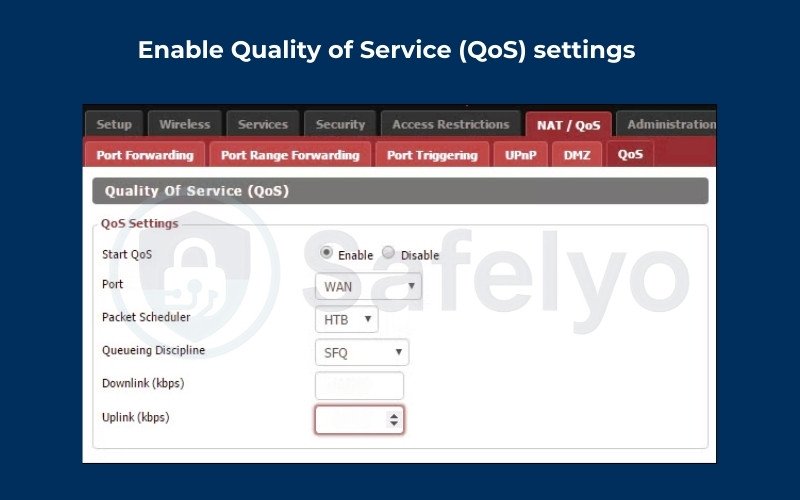
4.3. Enable Quality of Service (QoS) settings
QoS lets you prioritize certain devices or types of traffic, such as video calls or file uploads, so they get the most bandwidth.
How to do it:
- Log in to your router’s admin panel (usually by typing its IP address in your browser).
- Look for “QoS” or “Traffic Prioritization” settings.
- Assign priority to your device or the specific type of traffic you want to speed up.
- Save the settings and restart your router.
4.4. Change DNS settings
While DNS mainly affects how quickly websites load, in some cases, switching to a faster DNS provider can improve overall connection stability during uploads.
How to do it:
- Open your device’s network settings.
- Replace your ISP’s default DNS with public DNS servers, such as Google DNS (8.8.8.8 and 8.8.4.4) or Cloudflare DNS (1.1.1.1 and 1.0.0.1).
- Save changes and restart your device.
You may also like this article: How to configure DNS settings on a router in minutes
4.5. Switch to a less congested Wi-Fi channel
Wi-Fi networks often overlap, especially in apartments or dense neighborhoods, causing interference that slows uploads.
How to do it:
- Use a Wi-Fi analyzer app to check which channels are most congested.
- Log in to your router settings and manually select a less crowded channel.
- Save and restart your router.
4.6. Update firmware and network drivers
Outdated firmware or network drivers can cause performance issues and limit speeds.
How to do it:
- Visit your router manufacturer’s website to check for the latest firmware updates.
- On your computer, go to the device manager or network settings to update network adapter drivers.
- Restart your equipment after updating.
4.7. Use a VPN to bypass ISP throttling (with pros and cons)
Some ISPs slow down upload speeds for specific activities, such as file sharing or streaming. A VPN can encrypt your traffic and hide its type, potentially bypassing throttling.
How to do it:
- Choose a reputable VPN provider with fast servers, such as NordVPN, ExpressVPN, and Surfshark.
- Connect to a nearby server to minimize latency.
- Test your upload speed before and after enabling the VPN to see if it helps.
Important note: While a VPN can bypass throttling in some cases, it can also slightly reduce speed due to encryption overhead. Always test before relying on it for critical uploads.
Once you’ve implemented these advanced methods, it’s worth testing again over several days to see consistent results. If your speeds are still poor, it might be time to investigate whether the problem lies with your ISP or your local infrastructure.
5. Troubleshooting slow upload speeds step-by-step
If quick fixes and advanced methods haven’t solved the problem, a structured troubleshooting approach can help pinpoint the exact cause. The goal here is to narrow down whether the issue comes from your device, your network setup, or your internet provider.
Step 1: Isolate the problem (device vs. network-wide)
Before you change anything, check if the slow upload speed is happening on all devices or just one.
How to do it:
- Run an upload speed test on multiple devices (laptop, smartphone, tablet) connected to the same network.
- If only one device is slow, the problem is likely with that device’s settings, software, or hardware.
- If all devices are slow, the issue is likely with the network or ISP.
Step 2: Test at different times of day for congestion
Upload speeds often drop during peak usage times when many people in your area are online.
How to do it:
- Run speed tests in the morning, afternoon, and evening for at least two days.
- Record the results for each test.
- If your upload speed is much slower at certain times, network congestion could be the cause.
Step 3: Compare wired vs. wireless performance
This helps determine if Wi-Fi interference is part of the problem.
How to do it:
- Connect your device directly to the router with an Ethernet cable and run a speed test.
- Then reconnect via Wi-Fi in the same room as your router and test again.
- If wired speeds are much better, Wi-Fi interference or weak signal strength is likely affecting uploads.
Step 4: Identify bottlenecks in your home network
Sometimes a single device or process consumes most of the upload bandwidth.
How to do it:
- Access your router’s admin panel and look for a “Traffic Monitor” or “Bandwidth Usage” section.
- Check if any device is constantly uploading large amounts of data.
- Pause or limit high-traffic processes (cloud backups, security camera uploads, file syncing) to see if upload speed improves.
Following these steps will give you a clear picture of what’s slowing down your upload speed. Once you know the cause, you can apply the most effective fix rather than guessing.
6. FAQs on how to improve your upload speed
Below are answers to some of the most common questions people have when trying to improve their upload speed. Each one is explained in simple, beginner-friendly terms.
Why is my upload speed always lower than my download speed?
Most internet plans are designed this way because typical online activities, such as streaming and browsing, require more downloading than uploading. ISPs prioritize download speeds for the average user’s needs.
Can a VPN improve my upload speed?
In some cases, yes. If your ISP is throttling (slowing) certain types of traffic, a VPN can hide what you’re doing, which may restore normal speeds. However, VPN encryption can also slightly reduce speed, so results vary.
What’s the difference between Mbps and MBps?
- Mbps (megabits per second) measures internet speed.
- MBps (megabytes per second) measures file size transfer speed.
There are 8 bits in 1 byte, so 8 Mbps equals 1 MBps in terms of data transfer rate.
How can I tell if my ISP is throttling me?
You can test your speed using a tool like Fast.com, then compare the result with and without a VPN. If speeds improve noticeably when using a VPN, throttling could be the cause.
Does upgrading to fiber internet always increase upload speed?
Almost always. Fiber connections are designed to provide symmetrical speeds, meaning upload and download speeds are the same. This makes fiber ideal for people who frequently send large files or do live streaming.
7. Conclusion
Improving your connection starts with understanding how to improve your upload speed in ways that suit your specific situation. By addressing common issues first and then moving on to more advanced adjustments, you can see noticeable gains without unnecessary guesswork.
Key takeaways from this guide:
- Restart your modem and router to refresh the connection.
- Switch to a wired Ethernet connection for consistent performance.
- Reduce the number of connected devices and pause background uploads.
- Upgrade your plan or hardware if your current setup limits your speed.
- Use router settings like QoS to give priority to important uploads.
- Follow a step-by-step troubleshooting process to pinpoint the root cause.
When I had to work on a client project from a location with poor internet, my video calls kept dropping. After connecting via Ethernet, tweaking QoS, and freeing up network bandwidth, my upload speed improved enough to handle calls and send large files without stress.
In today’s remote working world, upload speed is no longer a secondary factor, it’s just as important as download speed.
Following these methods will help you increase upload performance and keep your network running smoothly for future needs. For more straightforward tech guides, explore the Tech How-To Simplified section on Safelyo.